There is a nice Solid State Drive (SSD) system that can be used as an upgrade to the Raspberry Pi 5. Usually the Raspberry Pi OS boots up via a SD card, but you can boot up from this SSD, plus this approach enhances the amount memory in the system and also a Single-lane PCIe 2.0 interface (with an advertised 500 MB/s peak transfer rate). The Raspberry Pi SSD Kit bundles a Raspberry Pi M.2 HAT+ with a Raspberry Pi SSD.
The Raspberry Pi SSDs are available in the following sizes as stand alone SSDs,
or as kits that includes the M.2 Hat+ interconnection platform,
If the SSD drive upgrade is performed, it is highly recommended to add the Active Cooler (Passive Heatsink and Active Fan) in order to avoid any overheating conditions. The Active Cooler is a dedicated clip-on cooling solution for the Raspberry Pi 5 board. Provides a heatsink made from aluminum and a temperature-controlled blower fan system to keep the Raspberry Pi 5 at a lower operating temperature, even under intensive processing loads.
Active Cooler Specifications
Input voltage: 5Volts DC supplied via four-pin fan header on Raspberry Pi 5
Fan speed control: Pulse width modulation control with tachometer
Maximum airflow: 1.09 Cubic feet Per Minute (CFM)
Maximum fan speed: 8000 RPM +/- 15%
Product material: Anodized Aluminum
The detailed M.2 HAT+ installation instructions are located here.
I have provided here some pictures of the installation process to complement the installation instruction and to clarify any questions in relation to this upgrade.
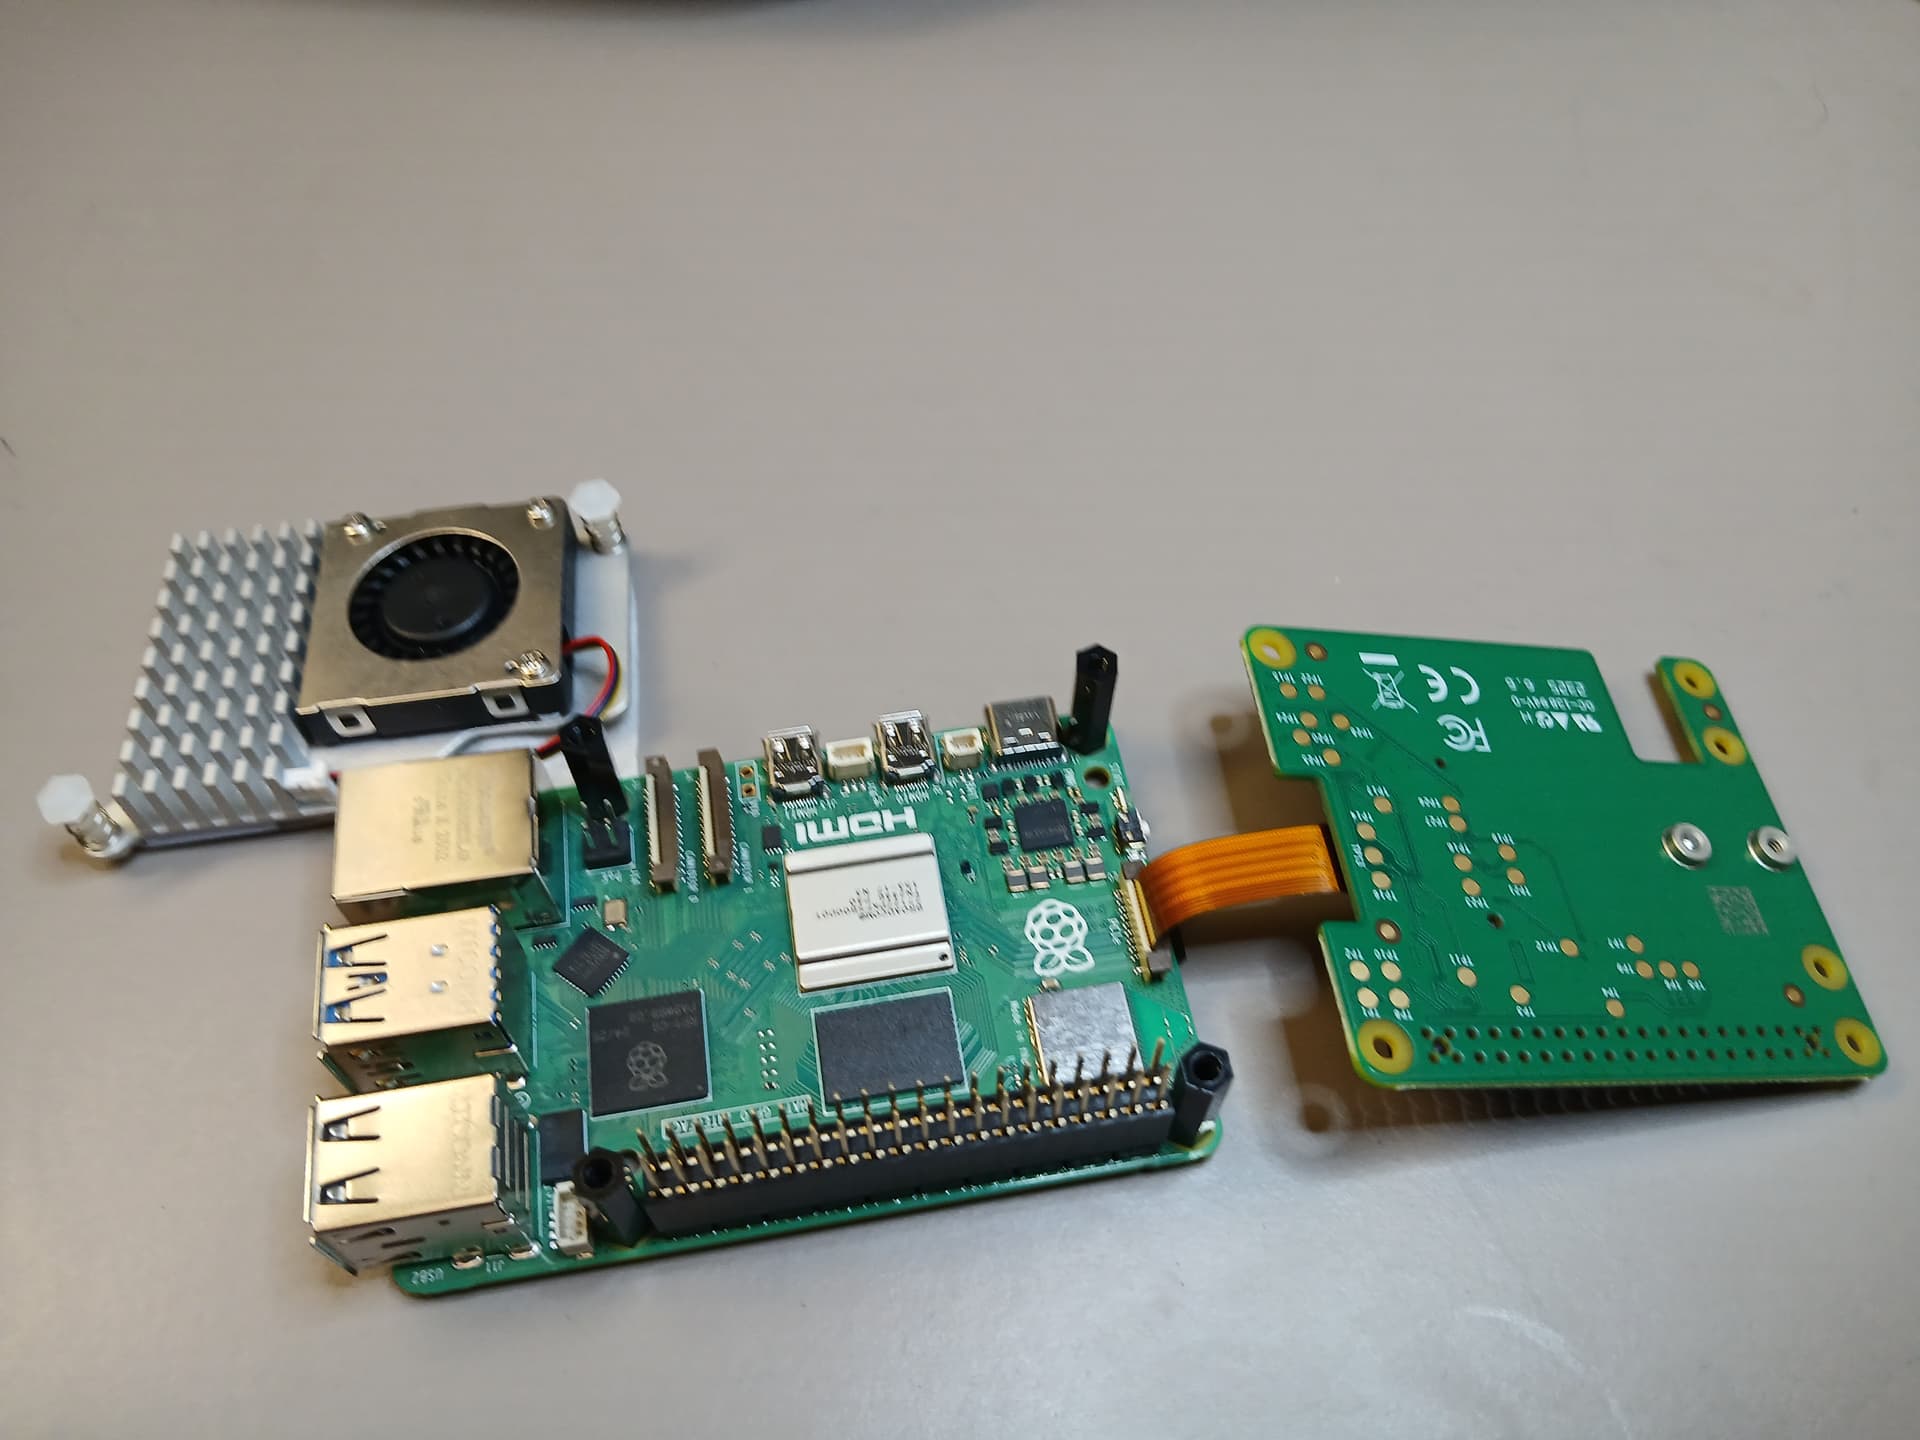
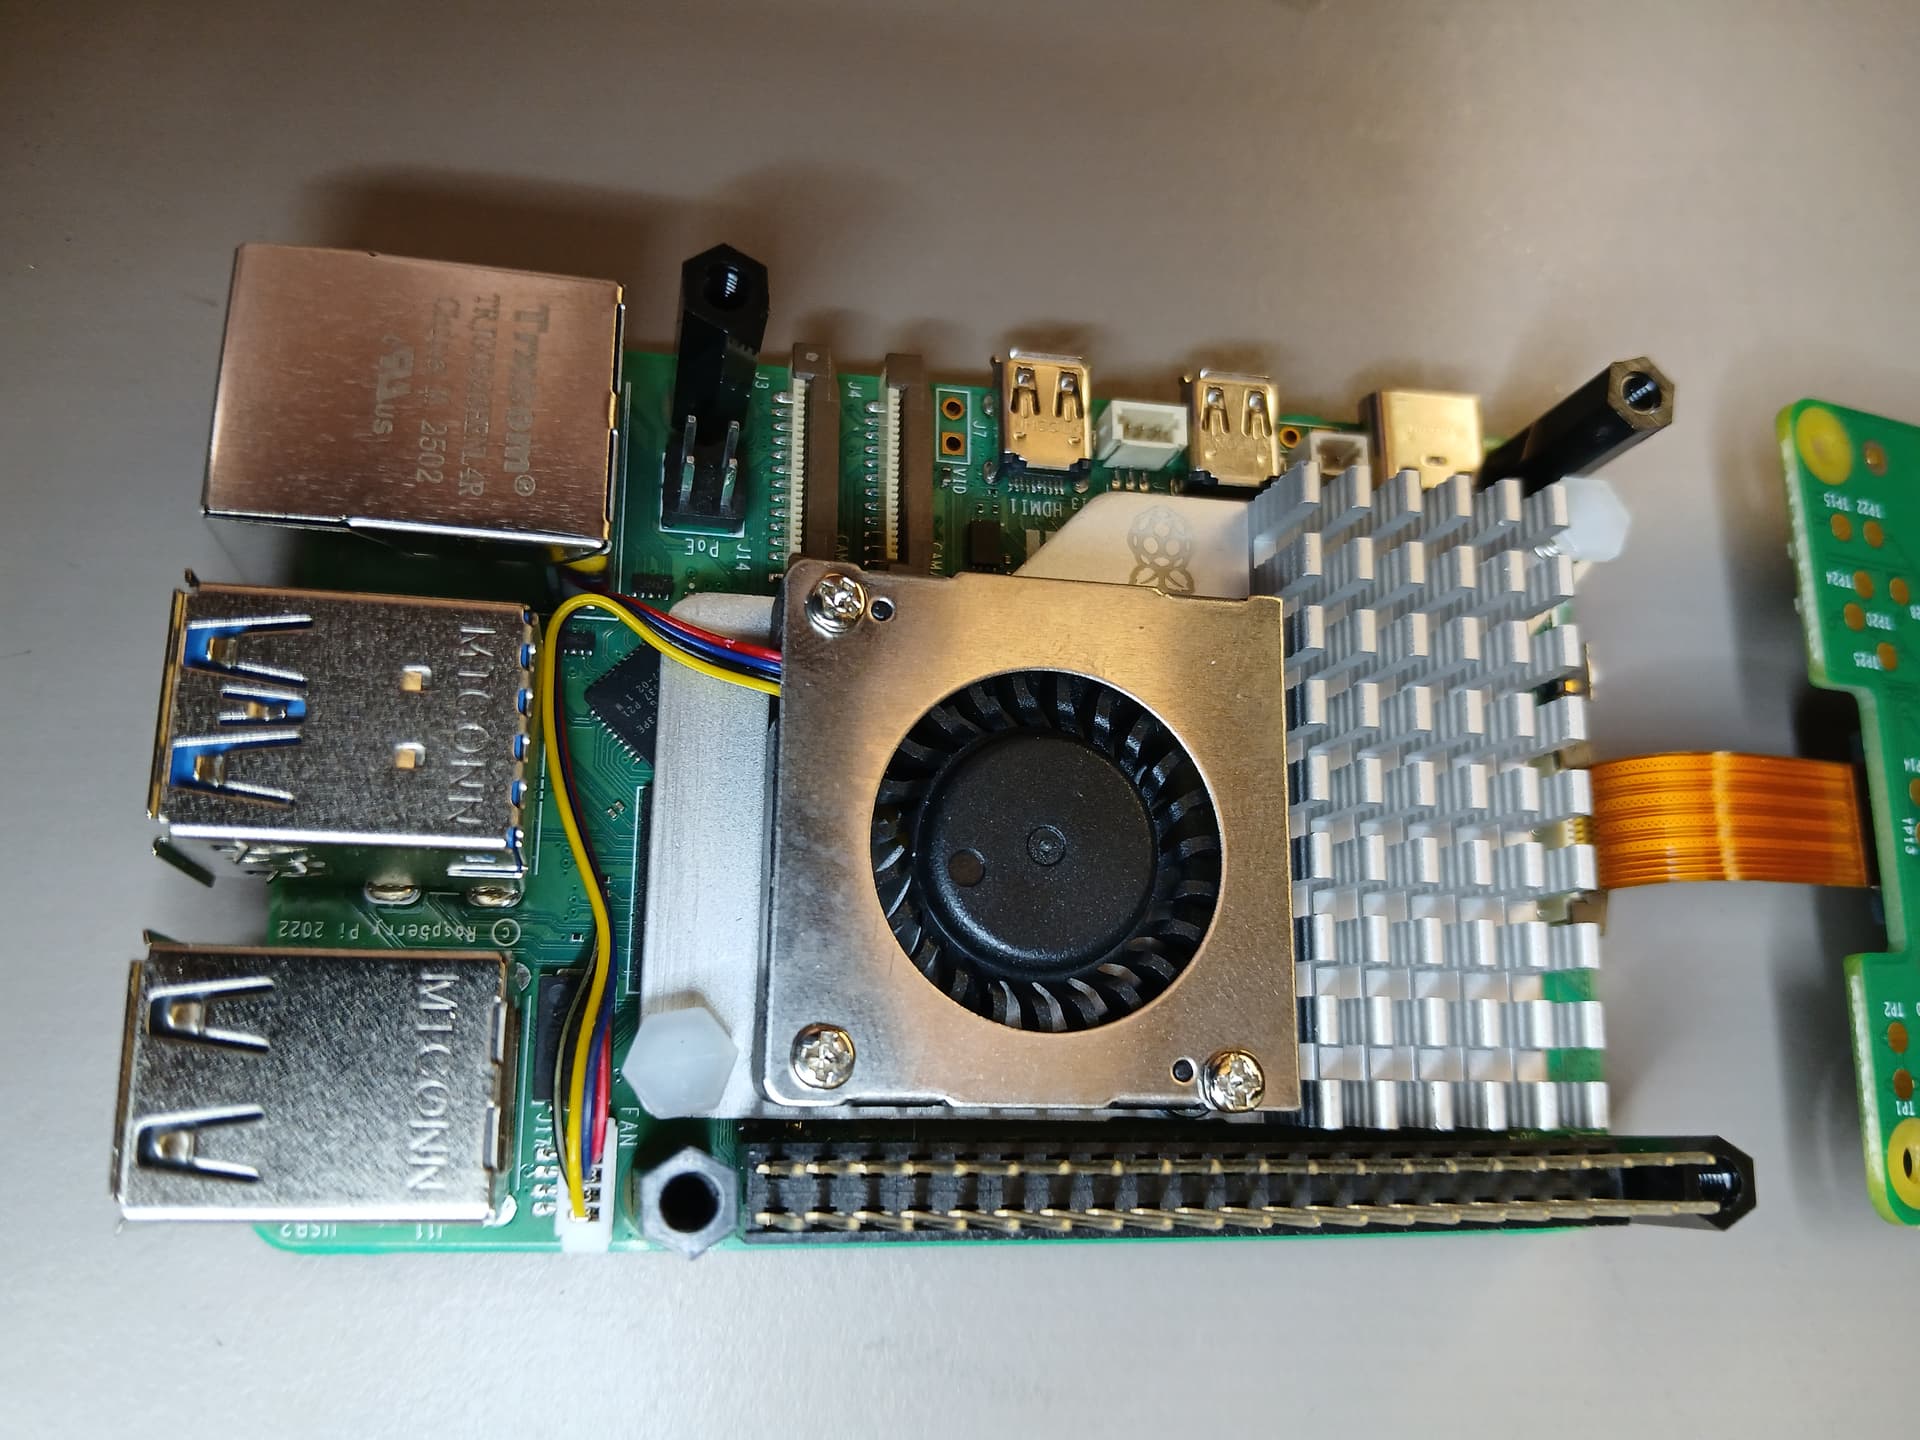
This picture illustrates the part of the assembly of the Active Cooler under the Raspberry Pi M.2 HAT+ with a Raspberry Pi 512 GB SSD.

The previous picture shows under the active cooler area. This tape needs to be removed in order to attach it to the Raspberry Pi as shown in the next picture.

A closer look at the heatsink unit is shown next,
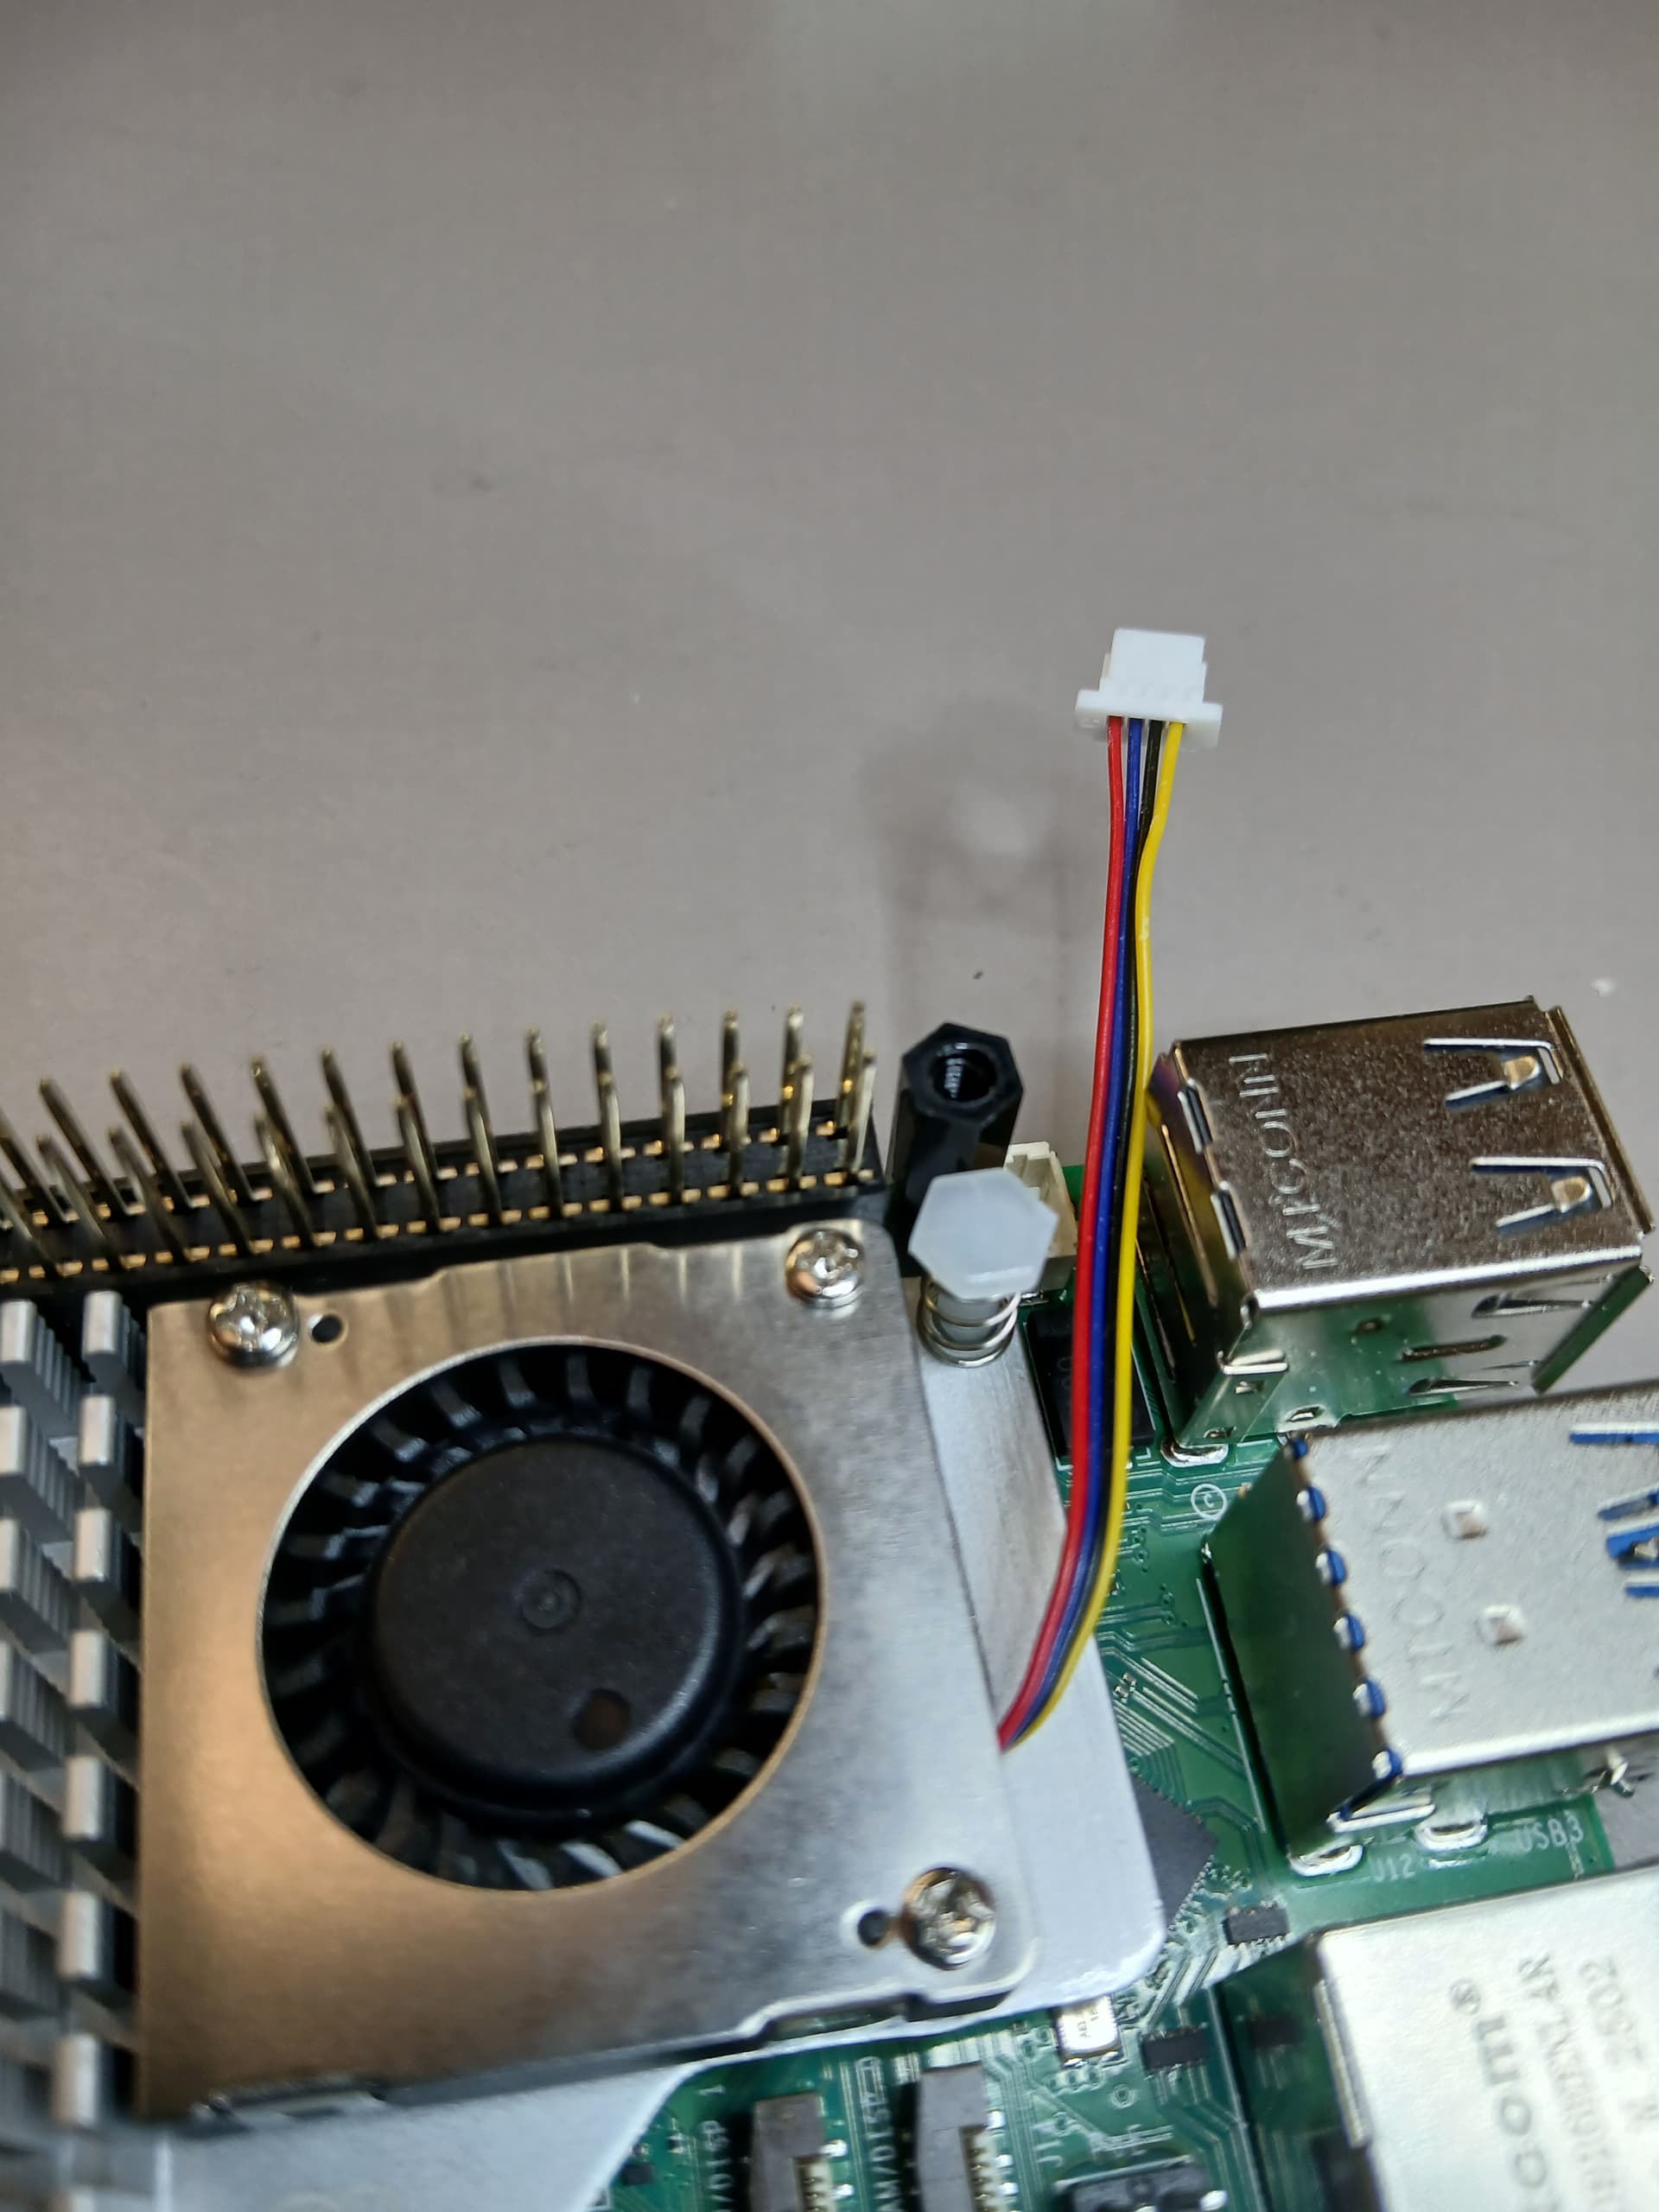
Once it is properly attached to the board using the plastic inserts connect the cable to the power port,
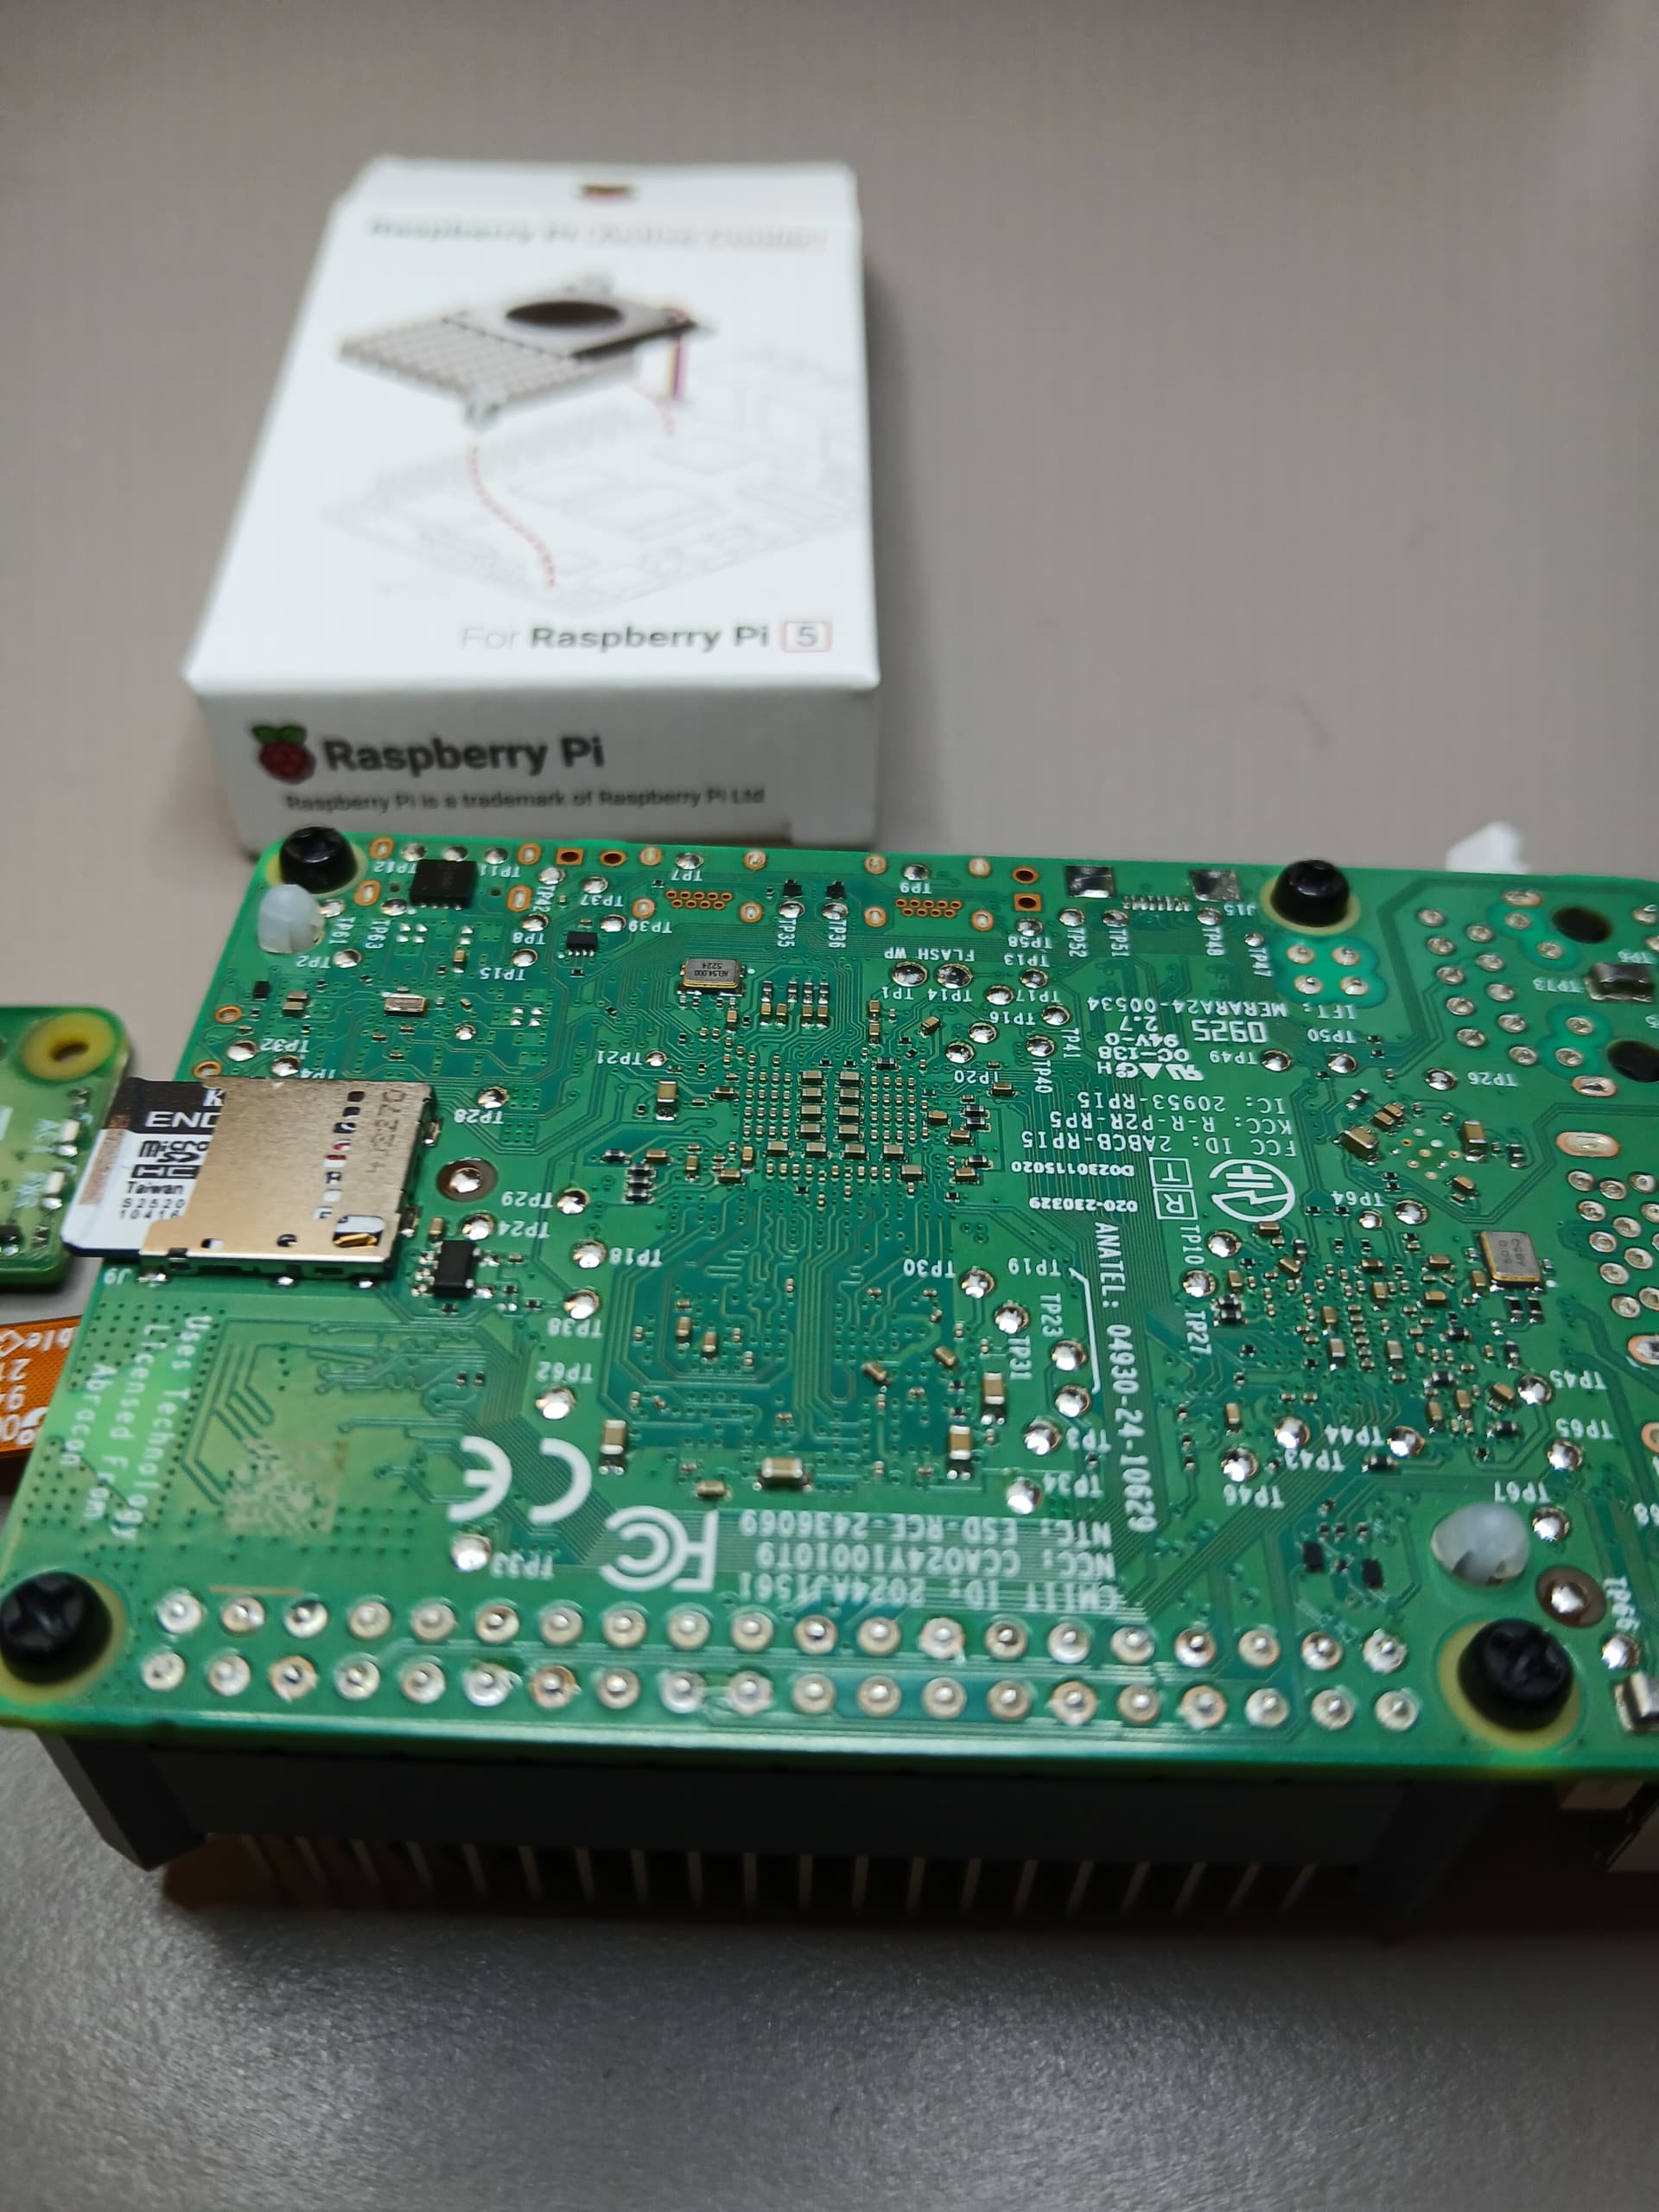
Here is a closer look at the plastic inserts under the board,
and a last look from the top to see the alignment,

the next step is to connect the power cable,

as shown below,

Once that is properly connected then follow to,
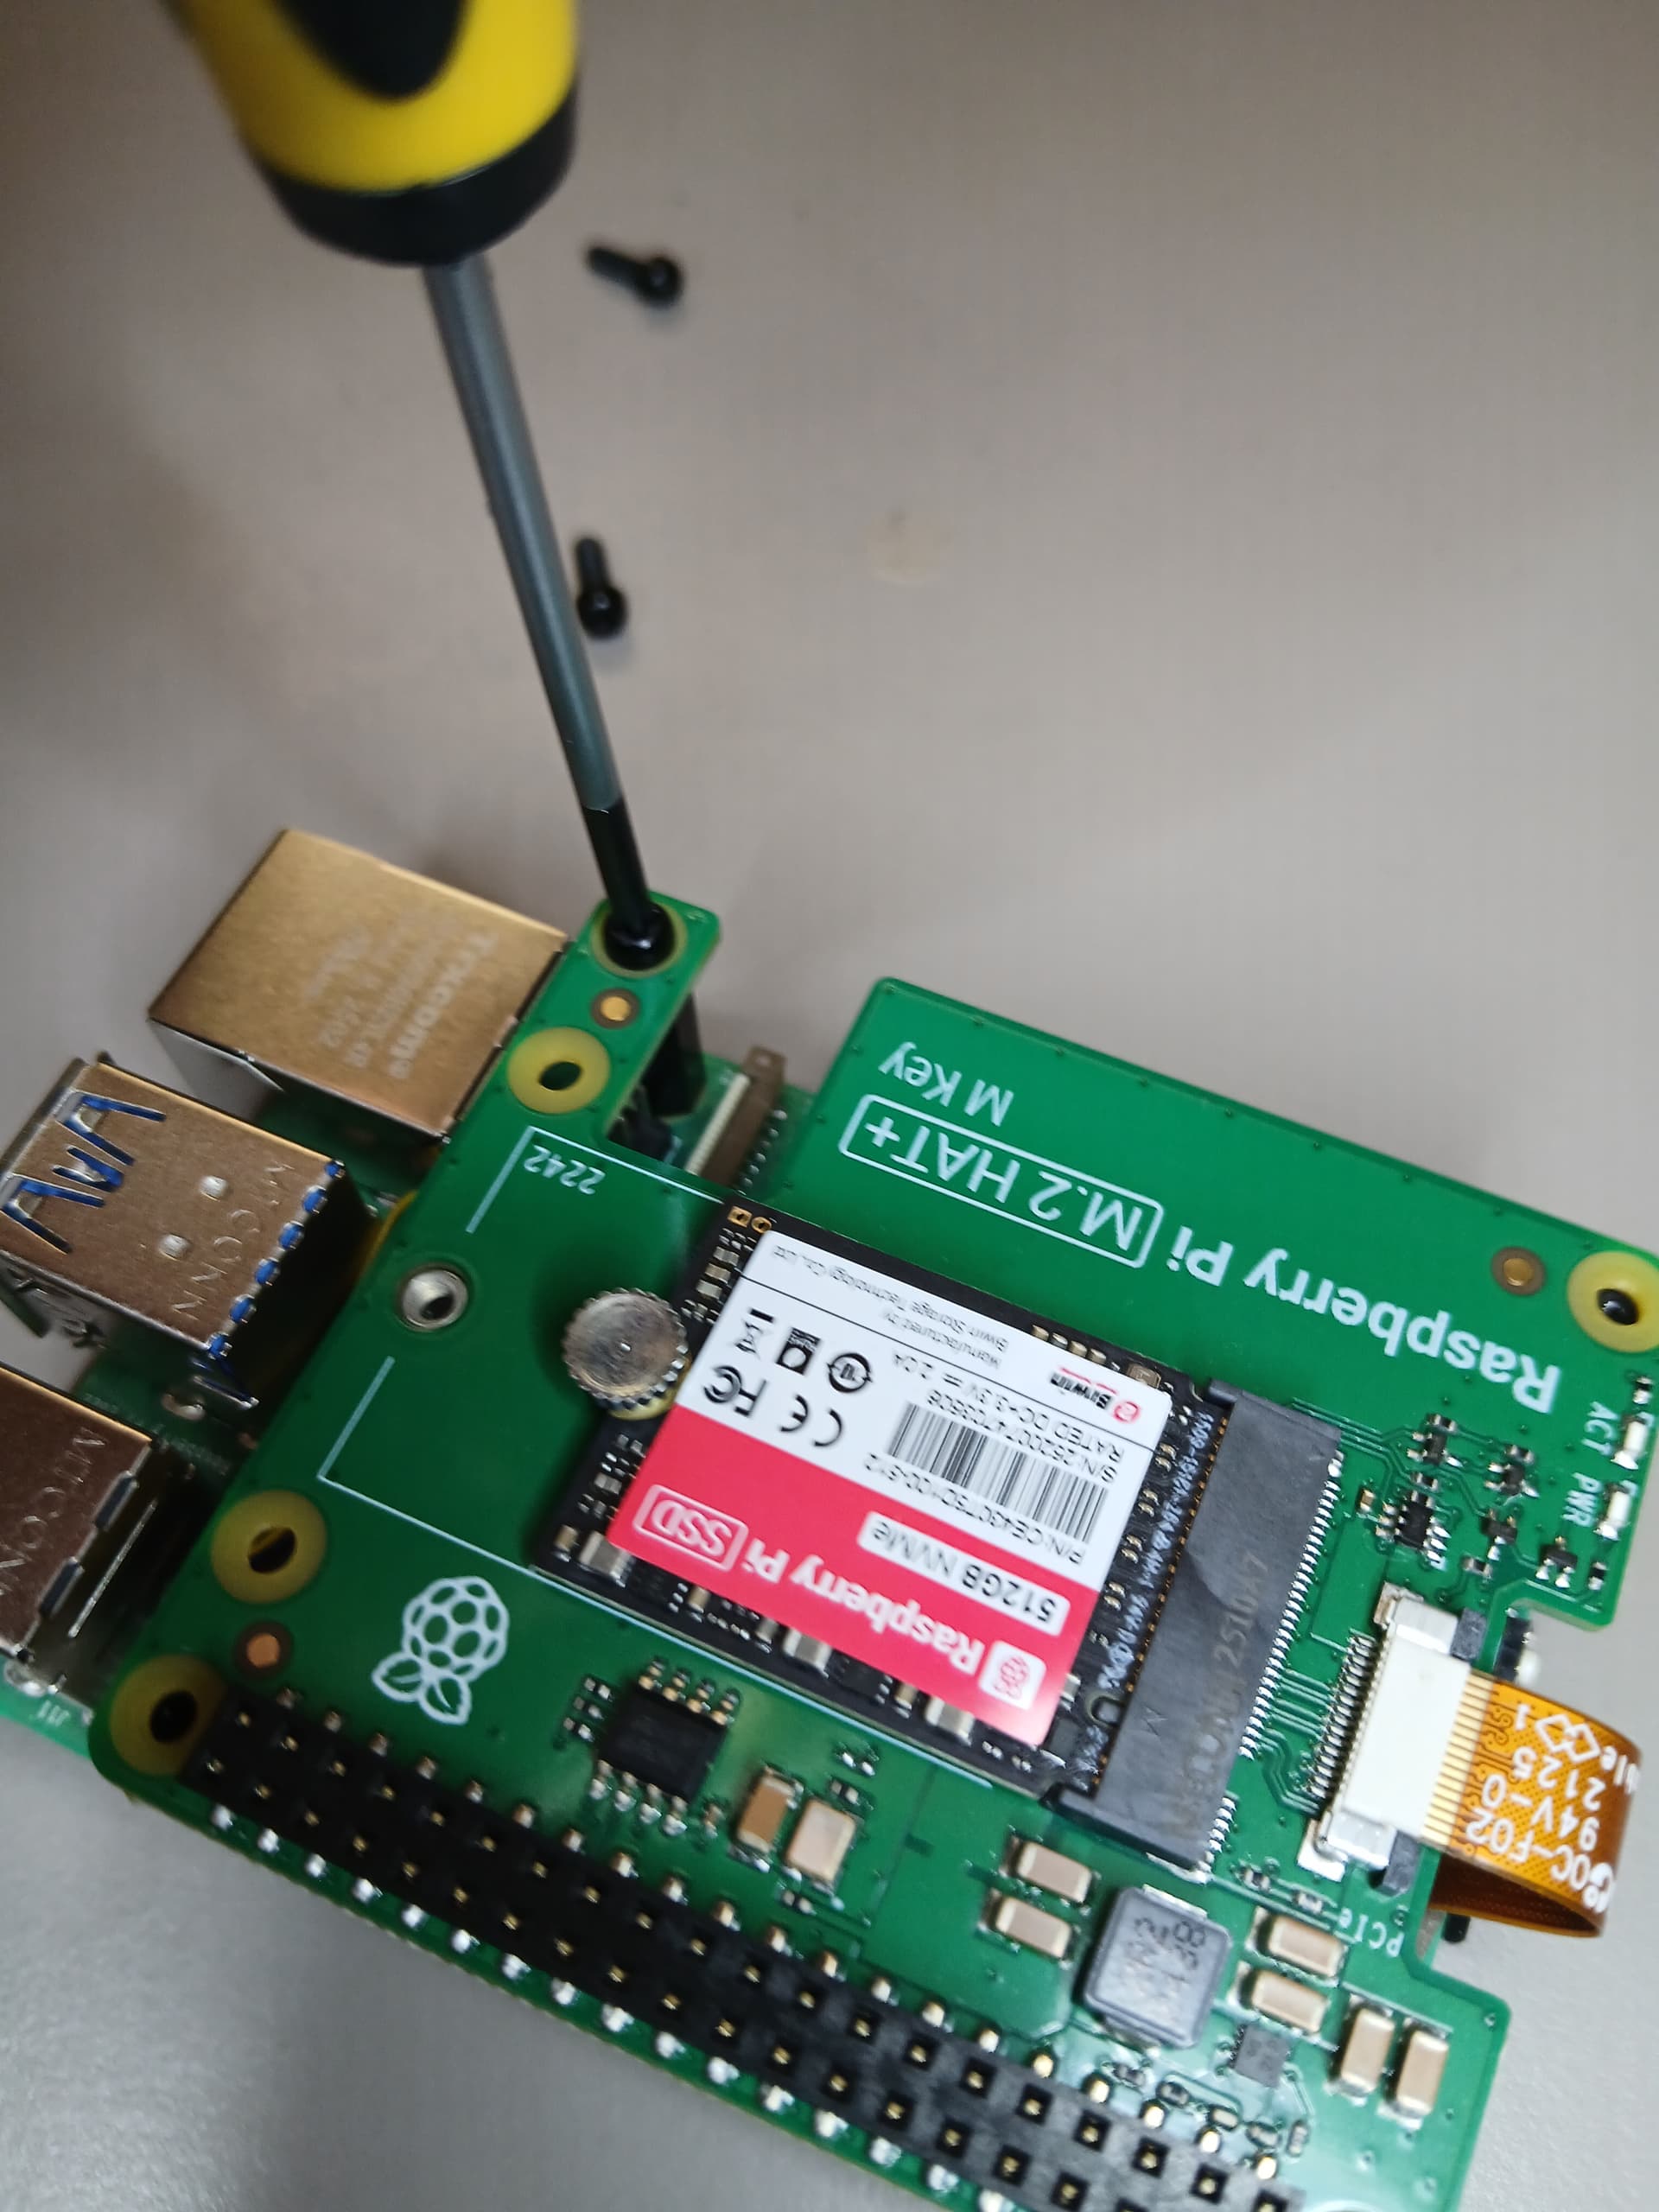
install the top SSD Raspberry Pi M.2 HAT+

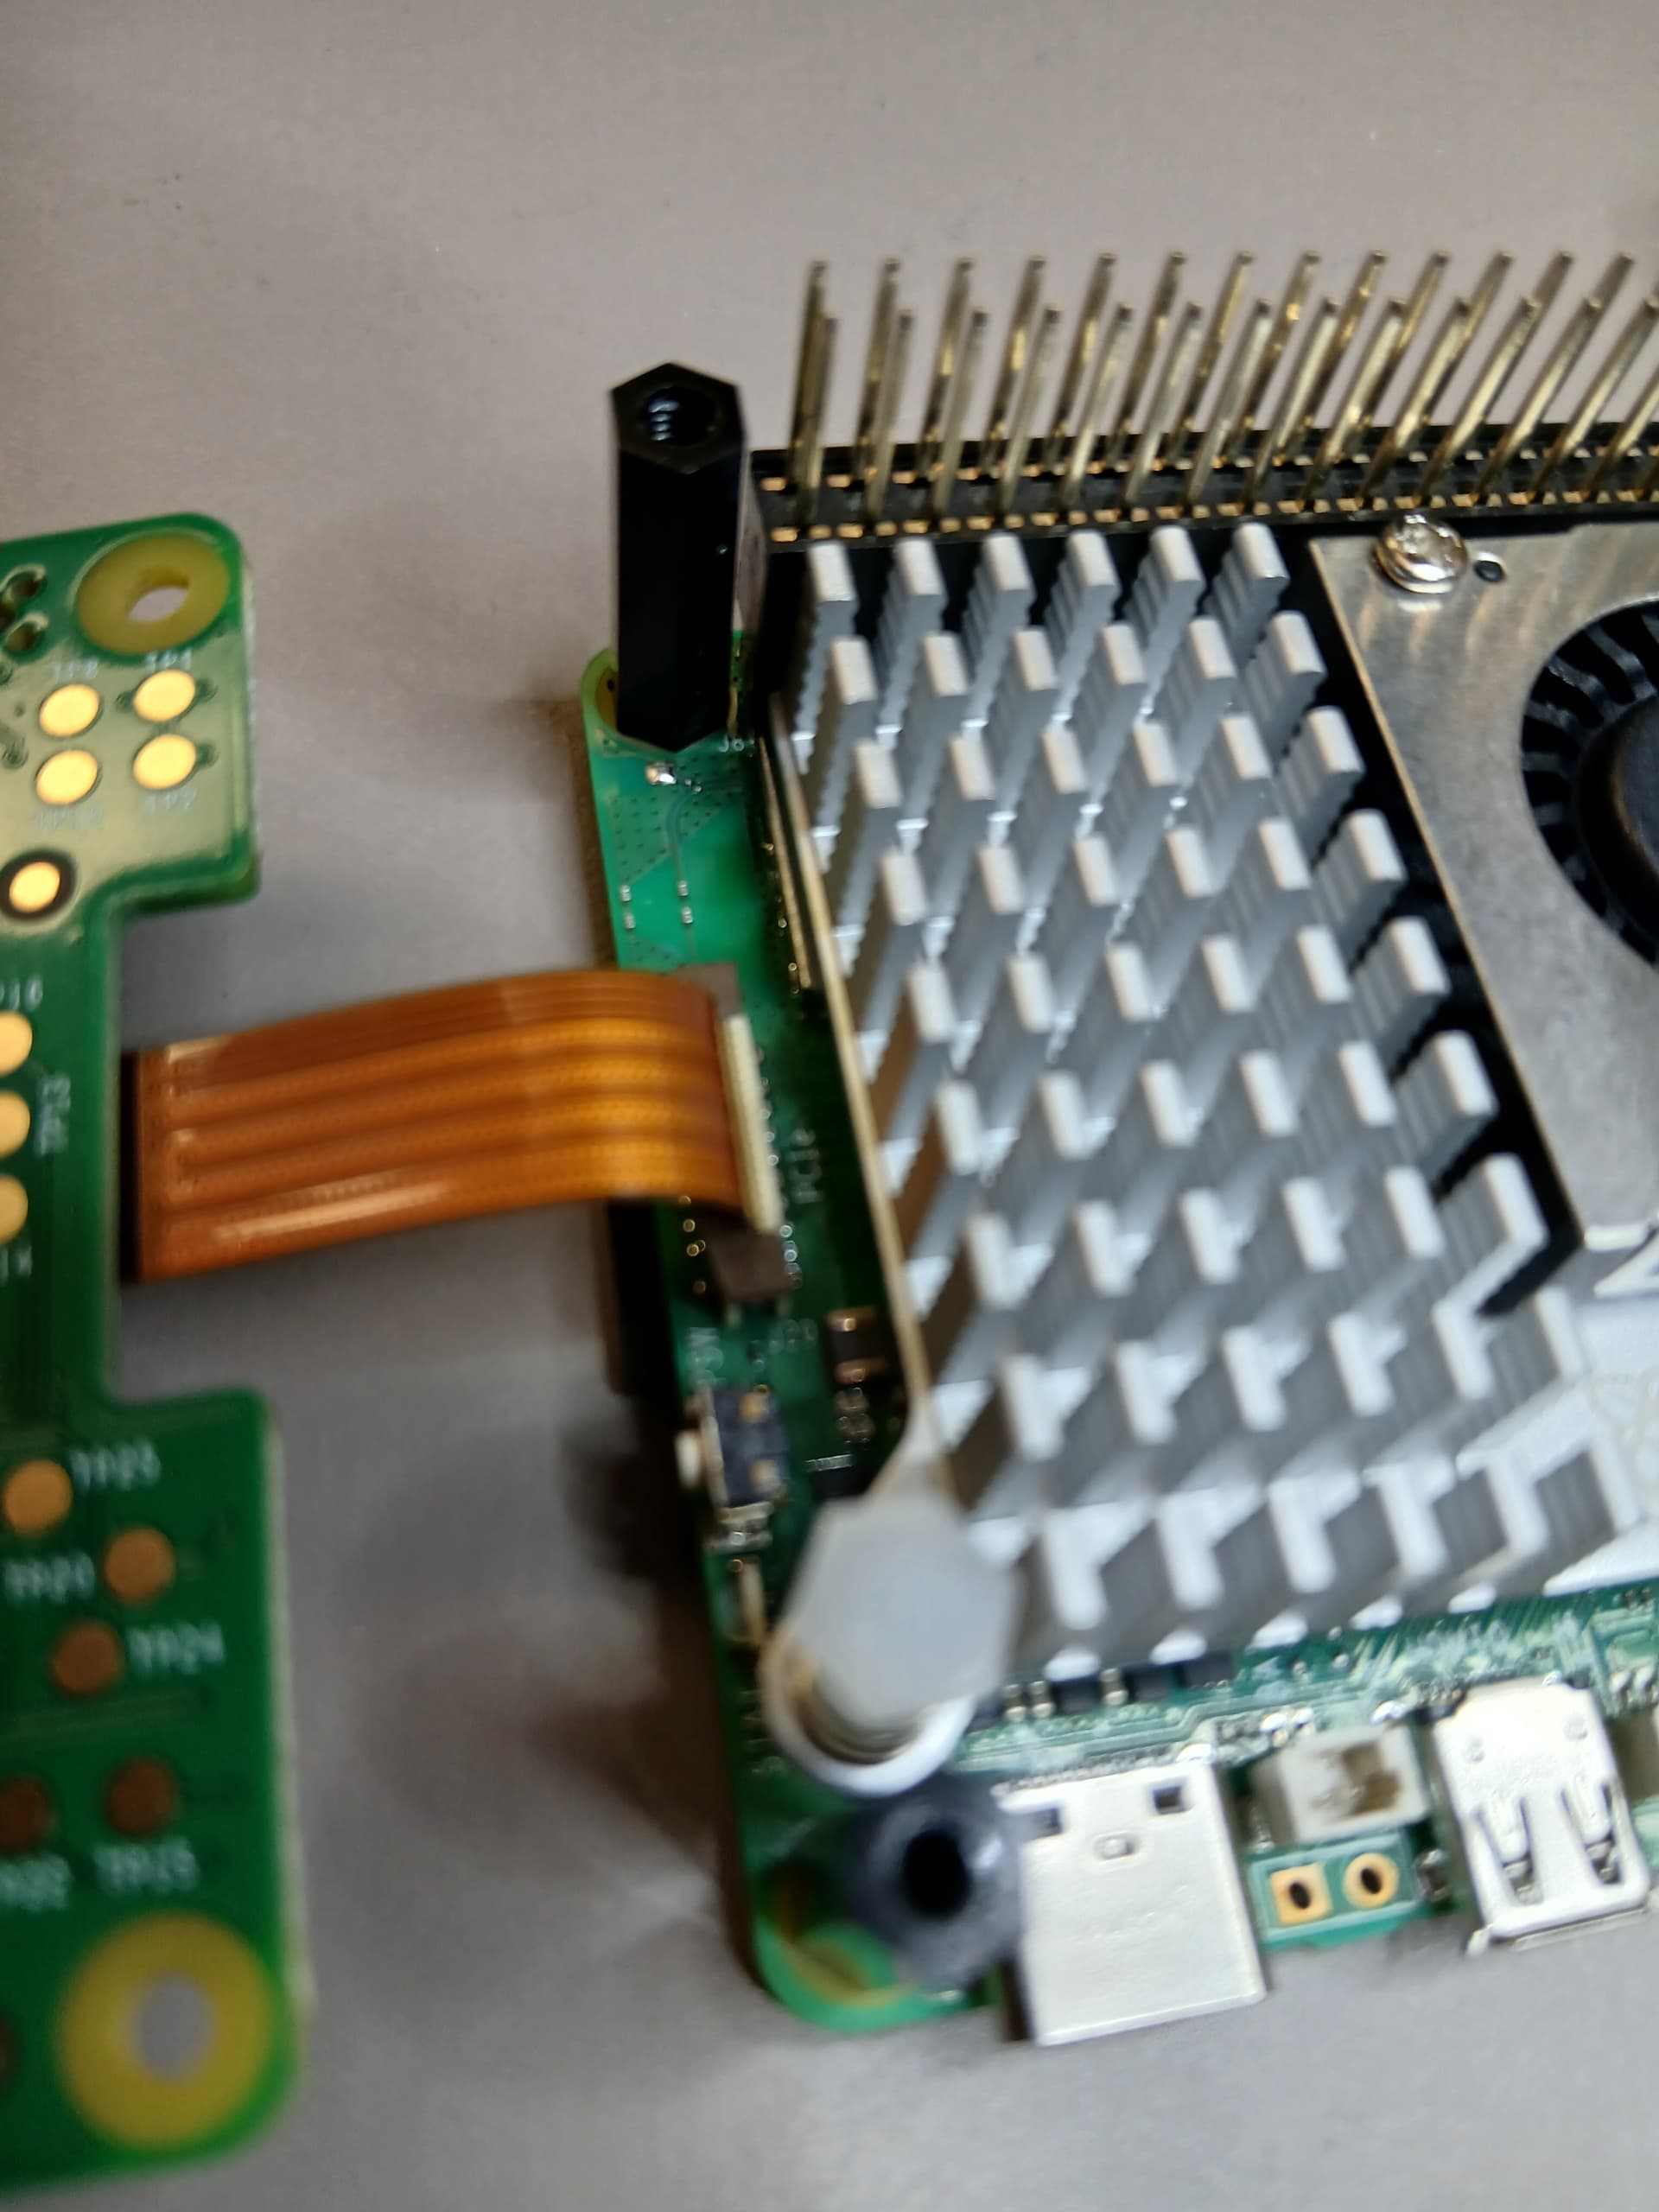
making sure the pins are aligned correctly as shown above do it gradually (illustration above shows the aligment process snapshot). Then attach the 4 plastic screws as shown below,
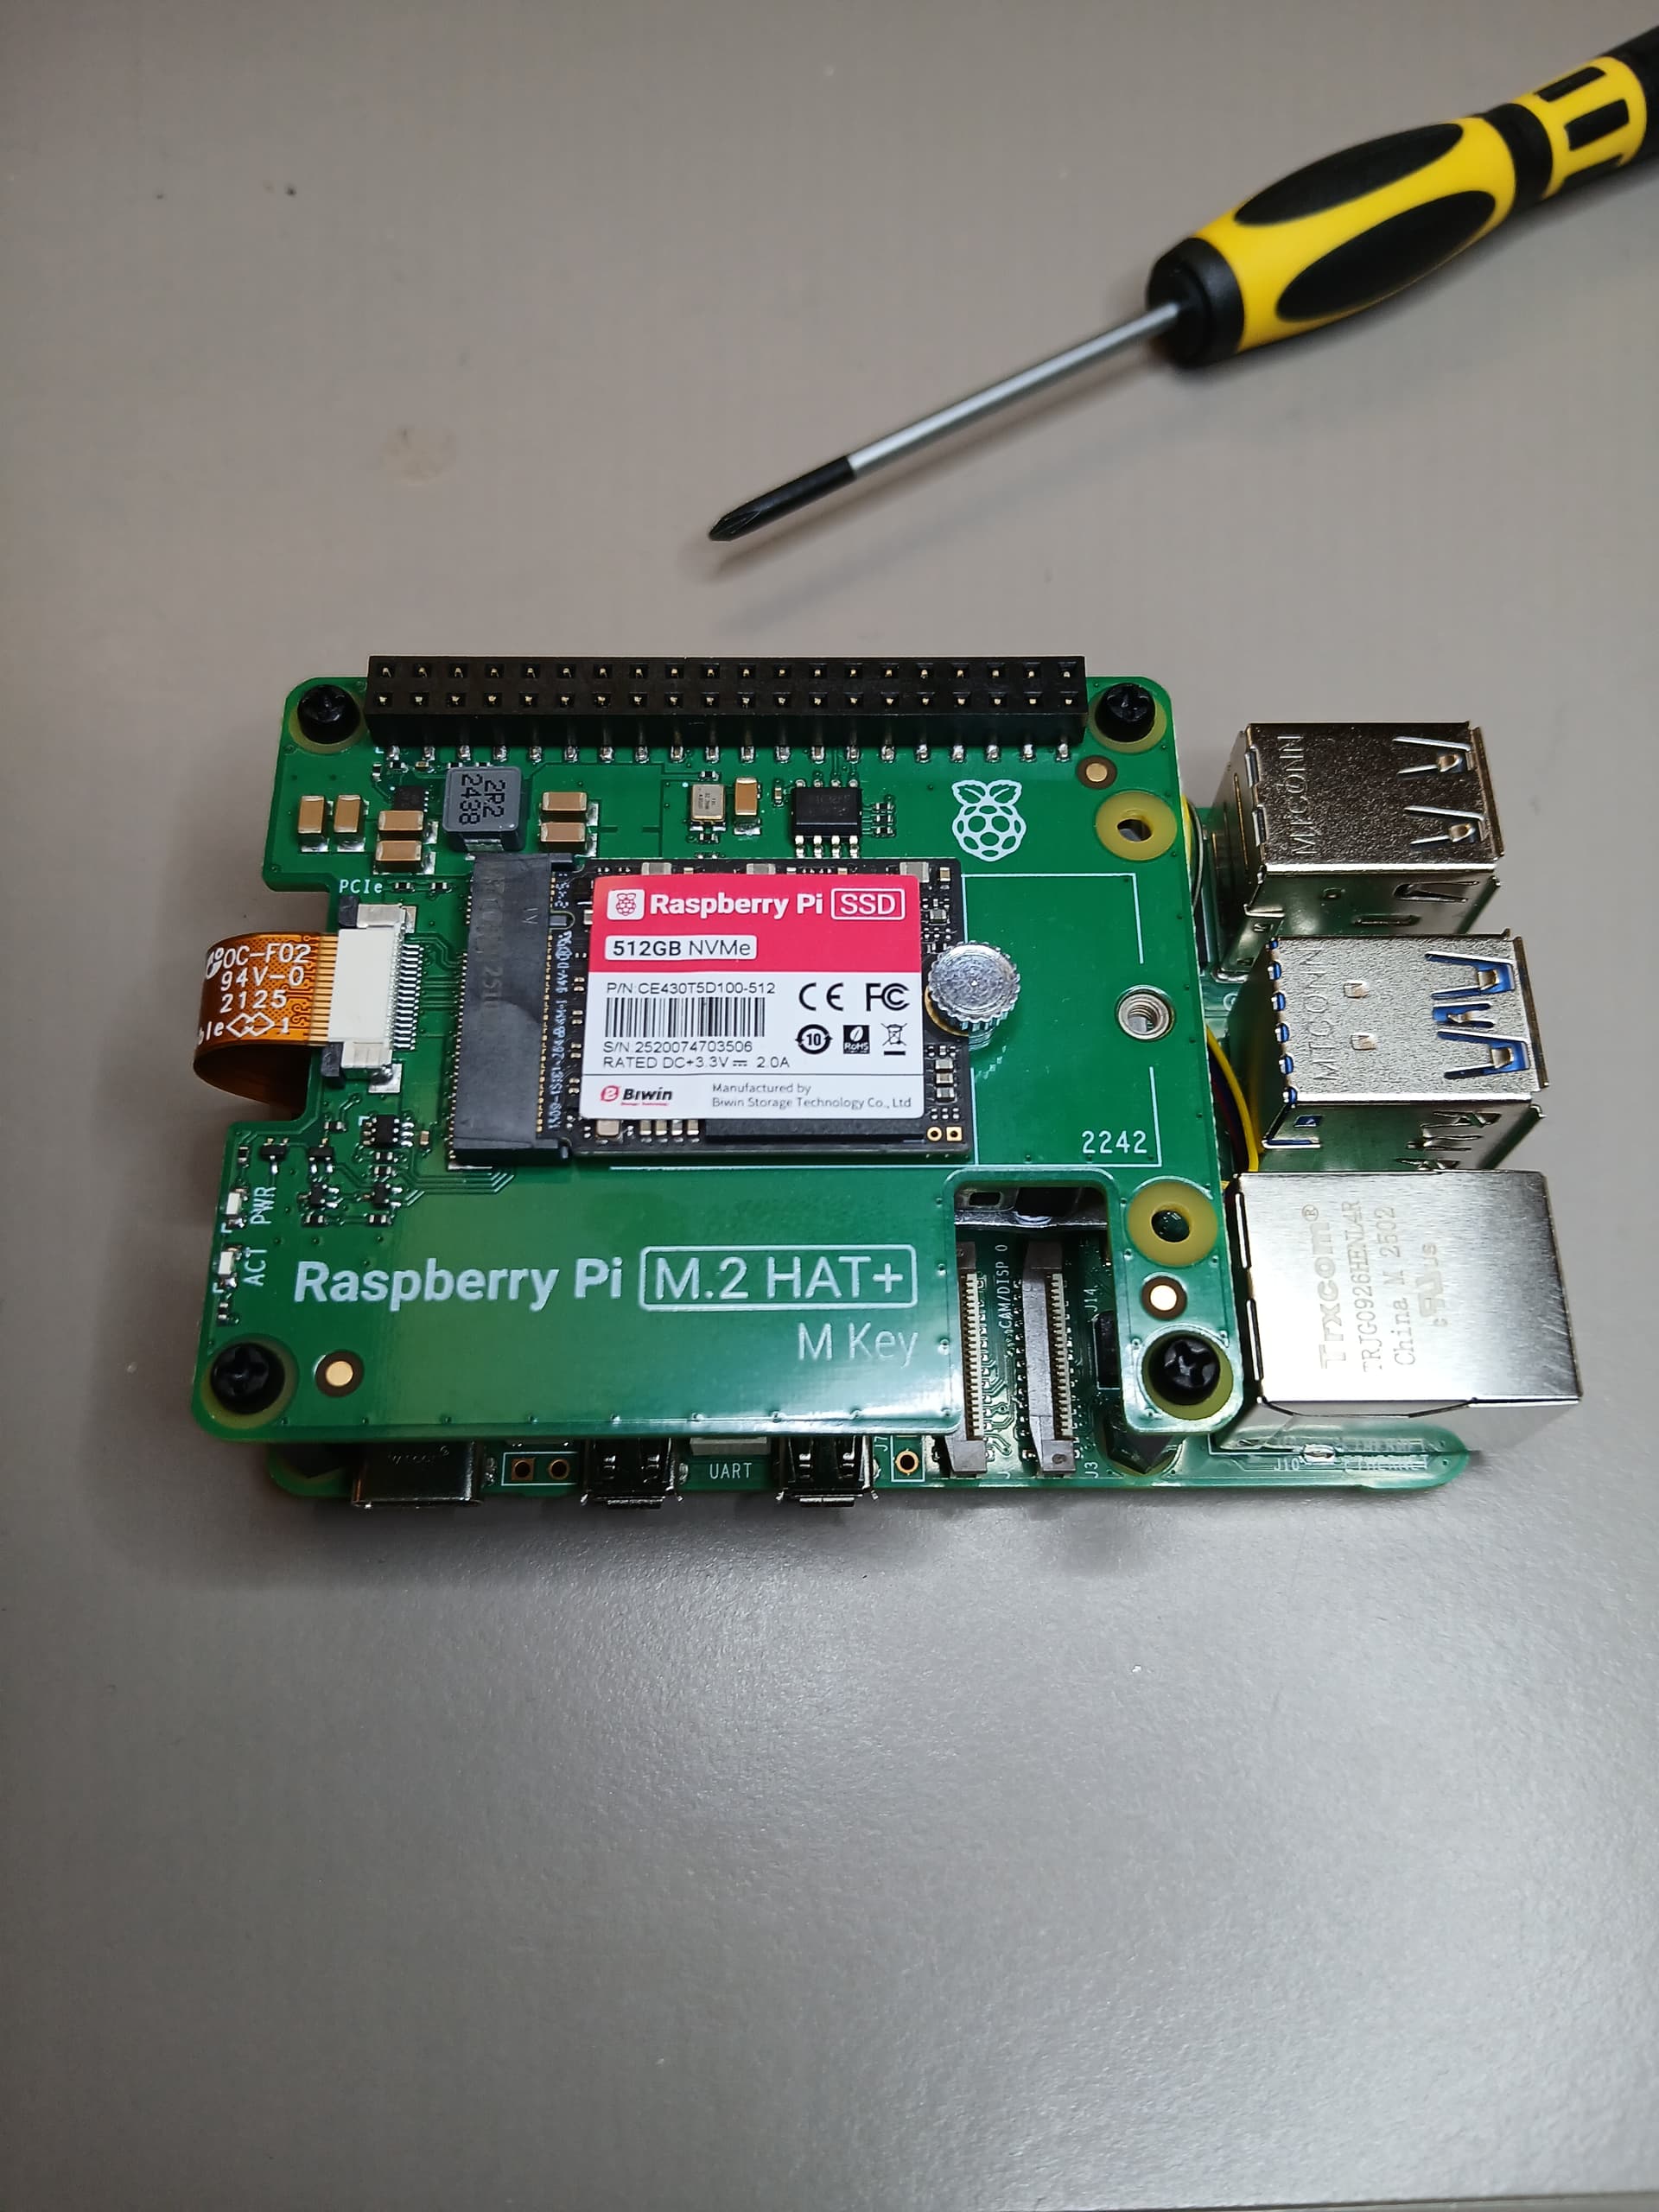
and finally here is the completed installation,
A thermal test to characterize the active cooler was performed.

This plot shows that the Active Cooler (Passive Heatsink and Active Fan) indeed is effective in decreasing the Central Processing Unit (CPU) temperature. The x axis represents a measurement in time. The y axis shows the CPU temperature. The first 400 points were taken during an intensive computational process with the fan off. The fan was turned on at around index 400 in the x axis. It can be seen that at different duty cycles of the fan it was turned off to reach the reference temperature of 50 C and turned on again. The plot shows that as soon as the fan was turned on, the temperature decreases in magnitude (higher duty cycle the bigger the peak to peak of the shark fin waveshapes (thermal rise-decay time constants) hence showing the effectiveness of the variable duty cycle forced cooling mechanism. Also this shows that at higher duty cycle the more effective is the fan reducing the temperature profile. The actual measurements were performed at room temperature in an uncontrolled environment but establishing a reference temperature of 50 C. In order to increase the CPU temperature of the Raspberry Pi 5 the following numerical context was used
$ sysbench --test=cpu --cpu-max-prime=500000000 run &
I hope this provides an overview to the installation process of the SSD Kit bundles a Raspberry Pi M.2 HAT+plus the Active Cooler (Passive Heatsink and Active Fan) for the Raspberry Pi 5. Also this gives an overview on how effective it is controlling the temperature of the Raspberry Pi 5.
Have a nice day!
This article is also available in spanish here.
Este articulo está disponible en el lenguaje español aqui.
This article can be found in japanese here