
This upgrade will add functionality to a 3D printer by measuring the actual location of the print bed using a touch sensor. With the measurements computer-based adjustments can be made to the g-code so that even if your bed is not perfectly level, the print will be printed evenly.
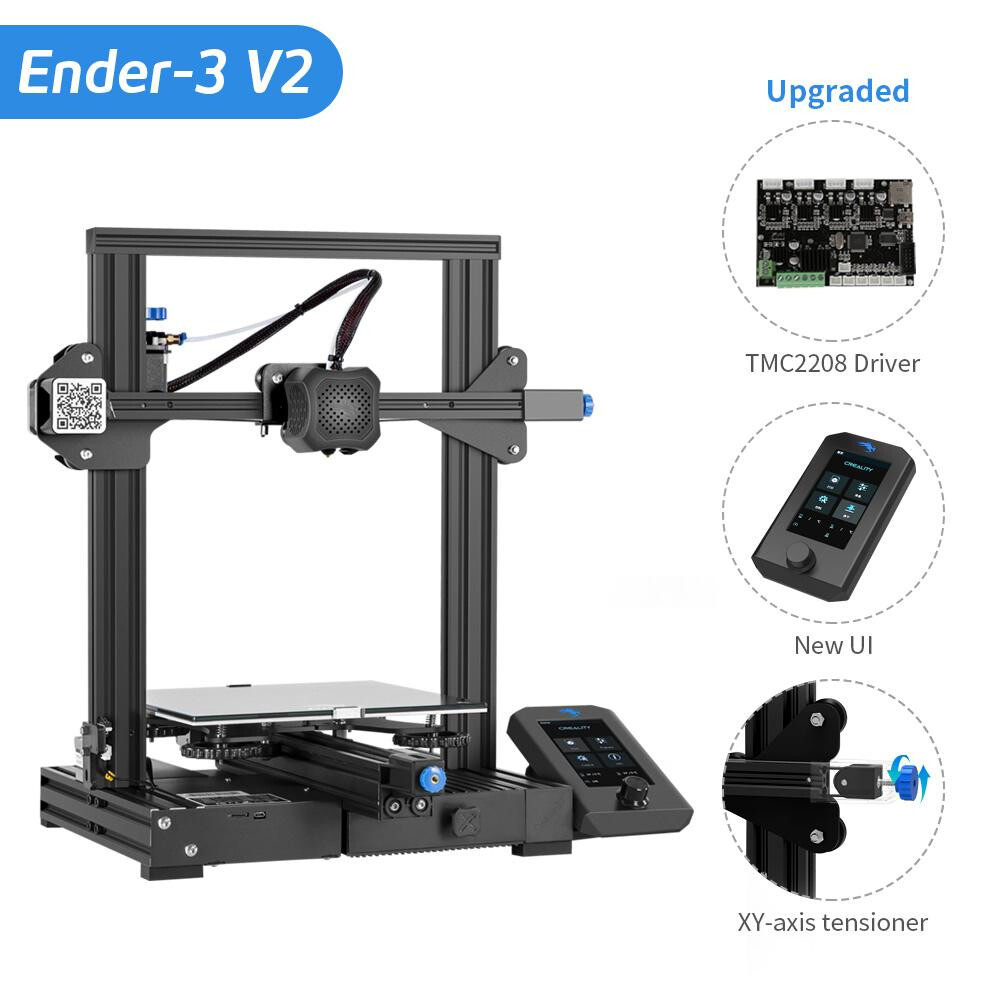
I am installing this CR Touch on the Ender 3V2. Please be aware that this product is designed for use on other printers as well. Here are some of those printers.
Ender 3/ 3v2 /3S/ 3Pro
CR-10
Ender 5 /5S /3Pro
Click this link to see other Creality 3D Printers


Preparation
Before starting this upgrade, I decided to run this single layer print to see how level the bed was before the CR touch was installed. As you can see, it could use some correction but instead I used this as a control to see how effective the upgrade would be.

Upgrading the Firmware
This upgrade will include flashing two sets of firmware.
Files needed to download.
[color = red]Note: If you do not know which version of the main board is in your machine, you should hold off until this is revealed when you plug in the wires[/color]
[color = red]Note: When you format your SD Card, avoid performing a quick format. Perform the long/full format or you may find the update will not initialize. [/color]
Click here to download necessary firmware
The first is in the display. To complete this the display will have to be removed, opened, and an SD Card inserted with the firmware update on it. Simply power on the printer to start the updating process. Creality has a great video here to show you how to do this.

The second is the firmware for the printer itself. The same install method is used. Insert an SD card with the require files into the standard micro SD card slot. Power on the machine to start the updating process. Creality has a video here to show you how to do this.

Installation

I removed these two screws
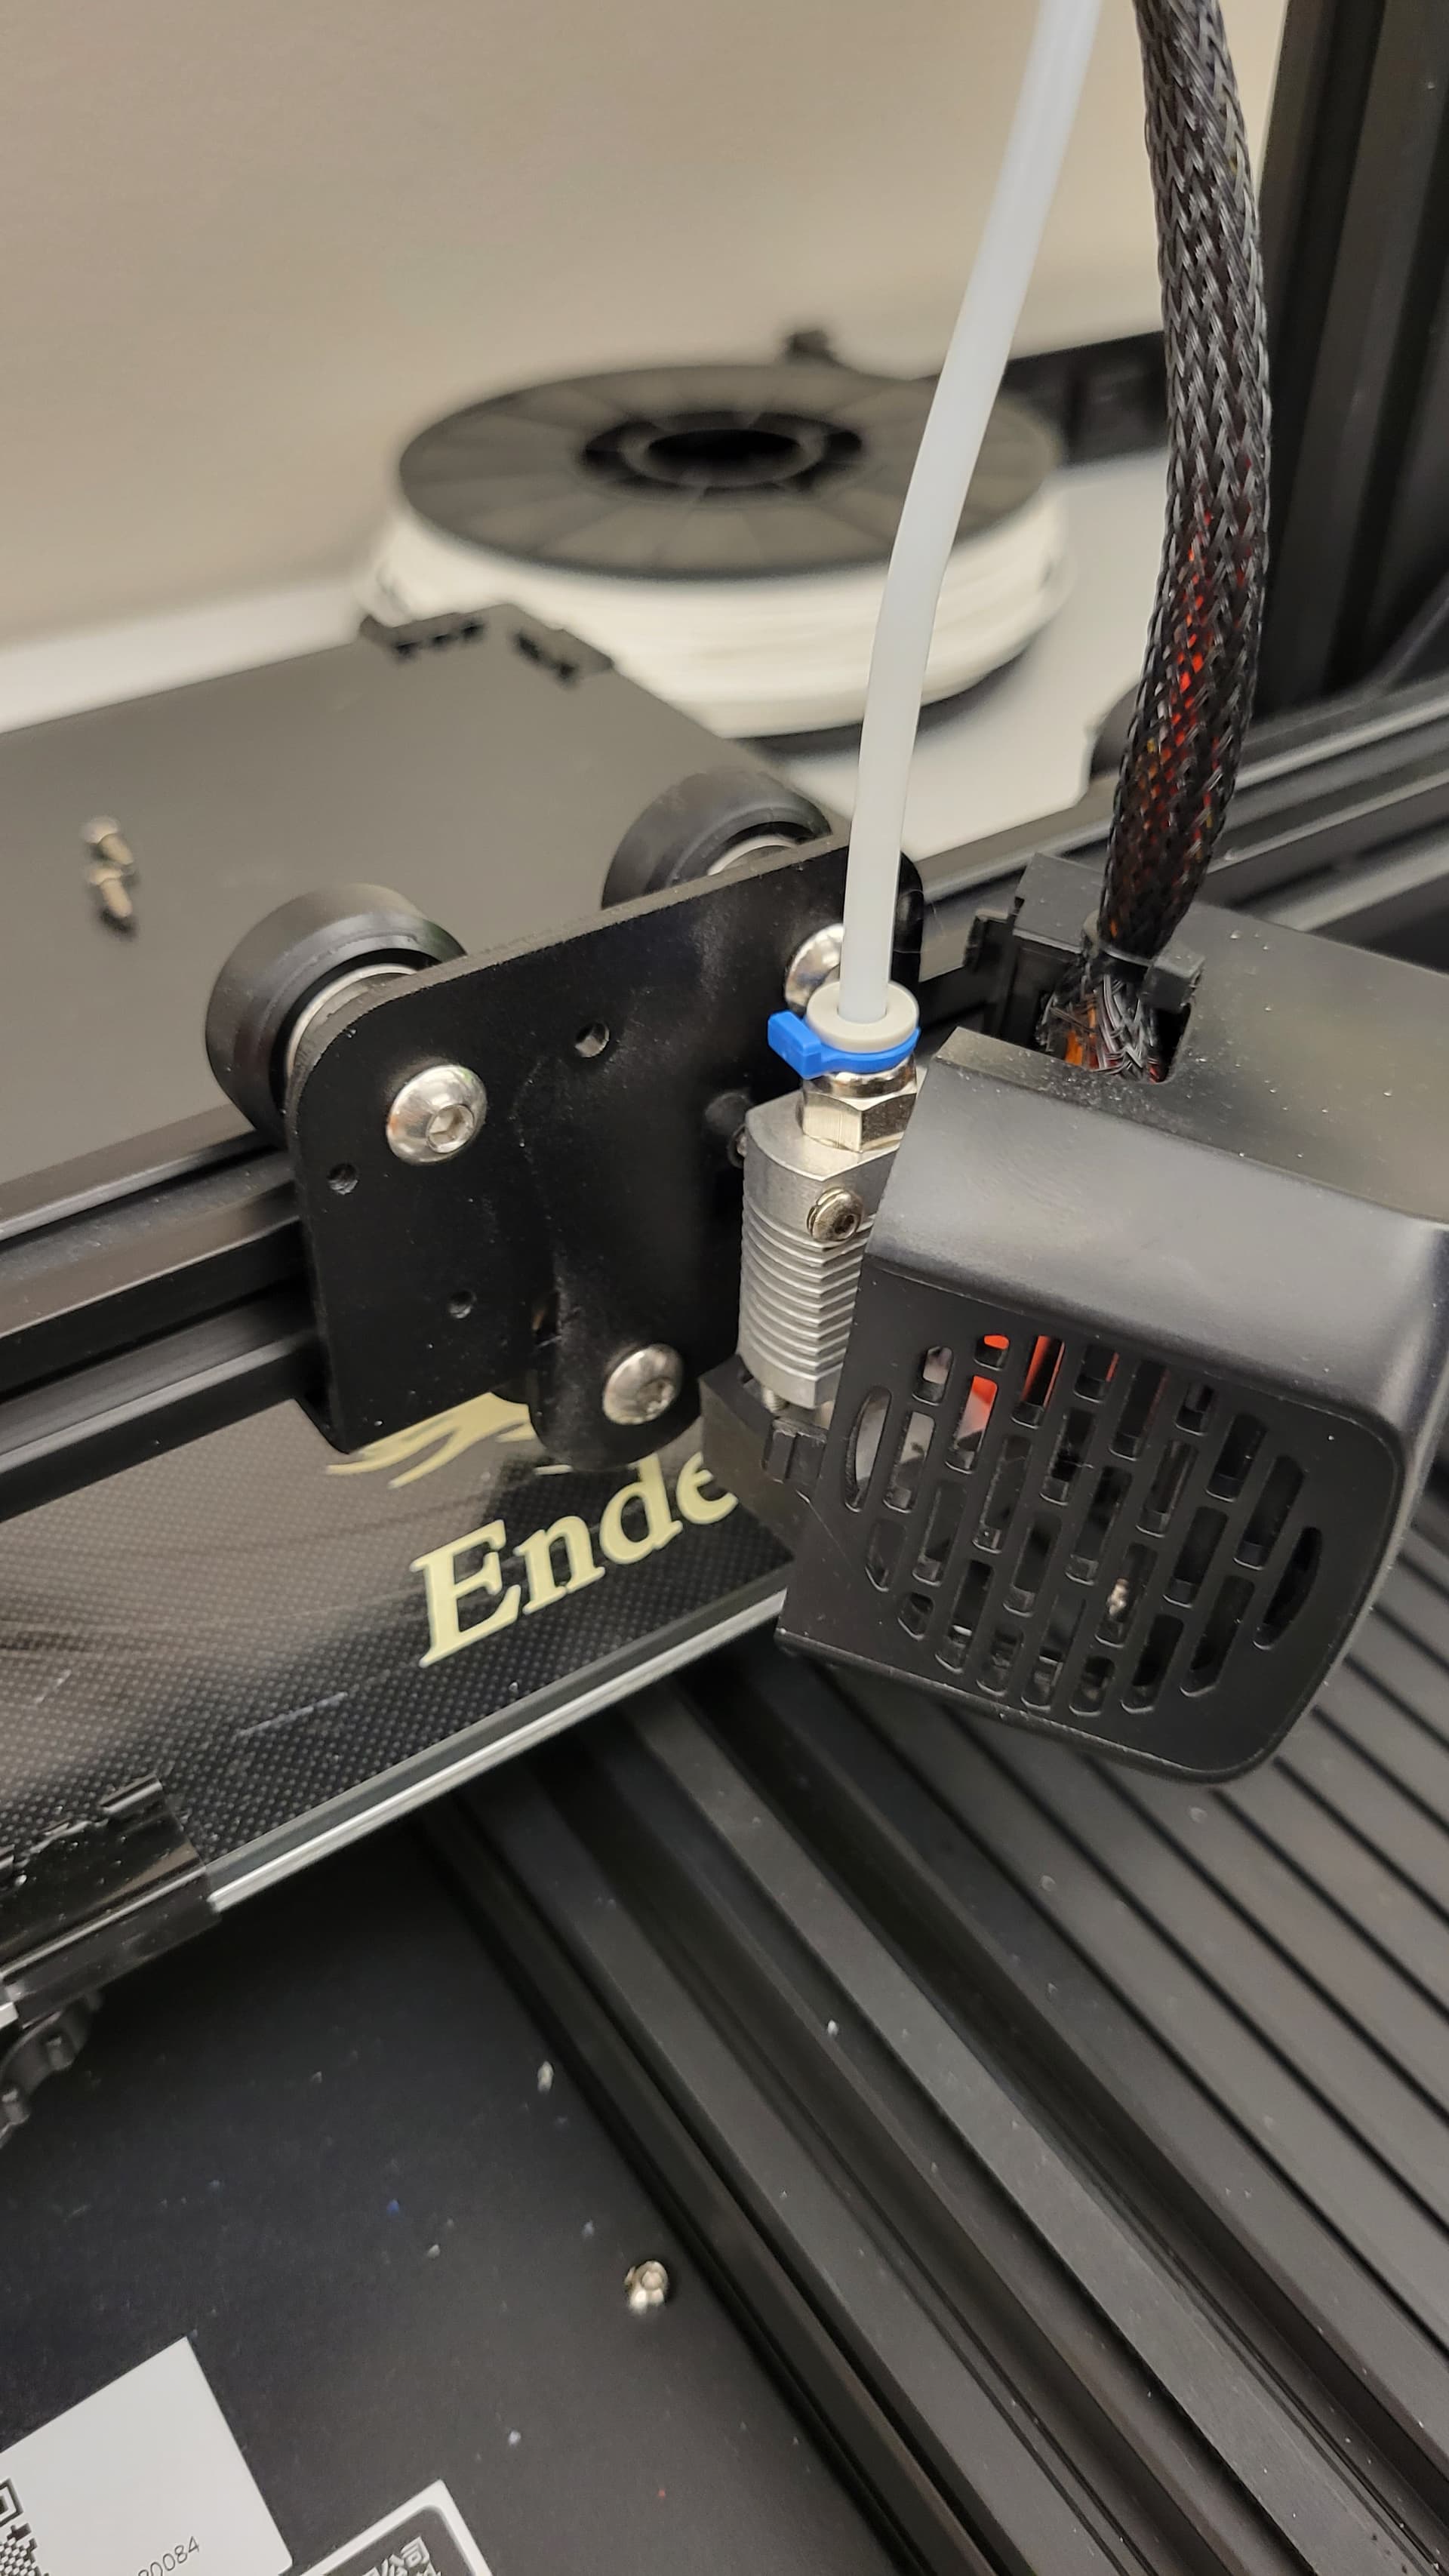

I pulled back the extruder cover and then mounted the CRTouch using the hardware appropriate for my machine.


I decided I wanted the cable to be inside of the expandable sleeving. I snipped all of the zip ties holding the cable assembly together all the way down to the mainboard bay. I took off the black tape and saved it to put back on. I ran the wires by inserting the smaller connector into the bottom of the expandable sleeving.

Blue arrow: I plugged in the CRTouch here
Red arrow: Where to find the version of the main board. You will need this to download

I took care of my cable management

I relocated my Z axis switch to get it out of the way.


After the installation I ran the same print as before. As you can see the CRTouch corrected for my unlevel bed.
