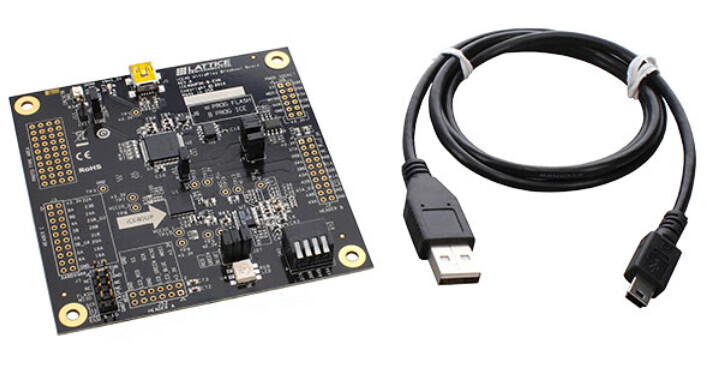
In our previous post we have convered a simple introductory demo of the Lattice ICE40 UltraPlus Breakout Board which is an excellent entry level FPGA development board but yet very powerful for many applications. It also includes the USB cable to connect to the host.
In this demo we will be presenting the APIO mechanism to develop in this board in a Linux host. This tool essentially wraps in a very easy to use interface other tools like (yosys, nextpnr, icepack, etc) among others as described in our previous post. First, proceed to install APIO in the Linux host. Create a python virtual environment as follows,
DigiKey_Coffee_Cup # python -m venv venv

DigiKey_Coffee_Cup # source venv/bin/activate

DigiKey_Coffee_Cup (venv) #
Install apio using the following command,
DigiKey_Coffee_Cup (venv) # pip install apio
Install all APIO packages,
DigiKey_Coffee_Cup (venv) # apio install -a
Now enable the ftdi drivers,
DigiKey_Coffee_Cup (venv) # apio drivers --ftdi-enable
To verify its proper installation, check the version as follows,
DigiKey_Coffee_Cup (venv) # apio --version
The APIO version should display in the terminal if its properly installed.
Save the following verilog HDL demo blink.v in a project folder. This is for a counter that will be used to blink a green LED in the Lattice ICE40 UltraPlus Breakout Board,
module rgb_test (input clk, output led_green);

   localparam N = 21;

   reg [N:0] counter;

   always @(posedge clk) counter <= counter + 1;

   assign led_green = counter[N];

endmodule
Define the apio.ini project file in the folder,
;APIO configuration file
[env:default]
board = ice40-up5k
top-module = rgb_test
Finally create the up5k.pcf pin definition file for this board as follows,
set_io -nowarn clk 35
set_io -nowarn led_green 40
APIO provides a set of commands for many different functions. For this demo we will use the basic ones. The first one is to verify with lint the verilog HDL code in this demo.
DigiKey_Coffee_Cup (venv) # apio lint
This should check the HDL for errors. If there are no errors, then proceed to build the project as follows,
DigiKey_Coffee_Cup (venv) # apio build
Now proceed to connect the Lattice ICE40 UltraPlus Breakout Board using the USB cable that comes with the kit to the host Linux computer. Then proceed to upload the project as follows,
DigiKey_Coffee_Cup (venv) # apio upload
Make sure the jumpers on the Lattice ICE40 UltraPlus Breakout Board are present as stated in our previous post.
After the upload process is complete to the Lattice ICE40 UltraPlus Breakout Board, the green LED on the board should be blinking very fast.
This completes this overview of using the APIO for the Lattice ICE40 UltraPlus Breakout Board FPGA development kit. The APIO also provides other functions for testing purposes too.
The Lattice ICE40 UltraPlus Breakout Board is an excellent, inexpensive, with a prototype area FPGA development board that can be used for many applications and is available at DigiKey.
Have a great day!
Este artículo está disponible en español aquí.
This article is available in spanish here.