Congratulations on your purchase of a Siemens LOGO! PLC.
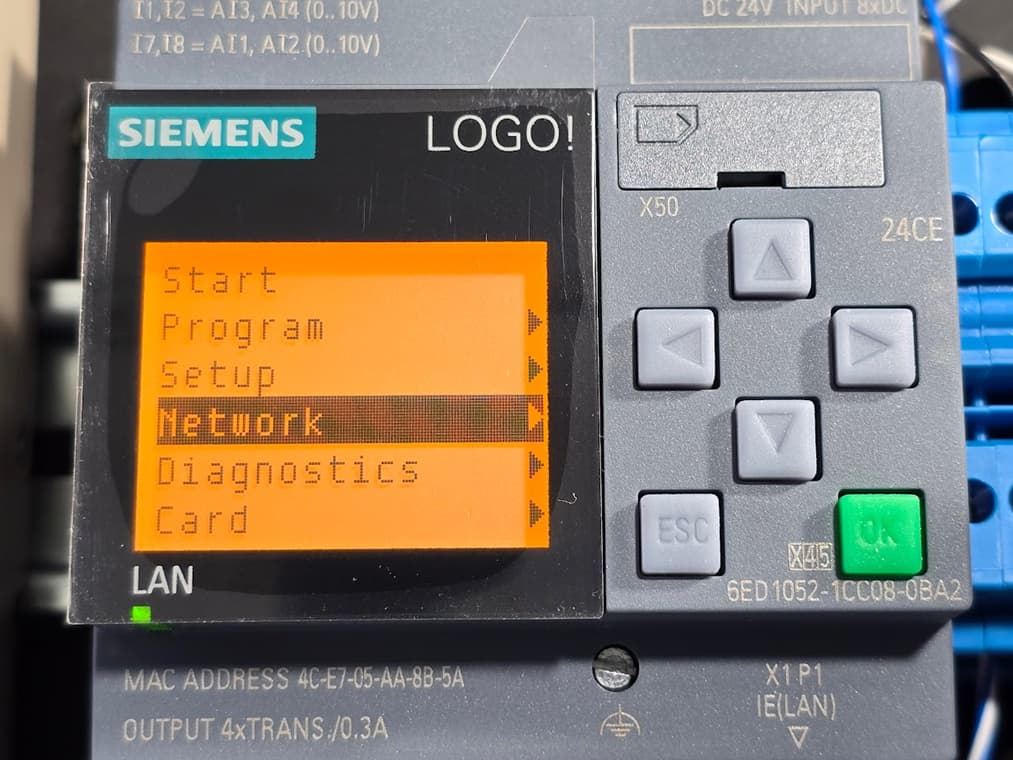
In this engineering brief we will review the steps necessary to connect the LOGO to a local network (Ethernet) so that you can begin programming using the Siemens LOGO! Soft Comfort program. We will focus on the Siemens LOGO! model 6ED10521CC080BA2 as shown in Figure 1.
![]() This article is part of DigiKey’s Siemens PLC and Automation Resource Hub. Visit the hub for more technical briefs on Siemens components, applications, and programming.
This article is part of DigiKey’s Siemens PLC and Automation Resource Hub. Visit the hub for more technical briefs on Siemens components, applications, and programming.
This article is part of the DigiKey Field Guide for Industrial Automation
Location: Program It → PLC → Siemens LOGO!
Difficulty: ![]() Engineer — difficulty levels explained
Engineer — difficulty levels explained
Author: Aaron Dahlen | MSEE | Senior Applications Engineer, DigiKey
Last update: 09 Mar 2026
Prerequisite knowledge
The reader is assumed to have a working knowledge of Ethernet and IP addressing. The knowledge level is minimal as the steps are similar to setting up a home network. For instance, you must be able to identify the IP address of your network. For example, a common home network has an ID address of 192.168.1.0 with a subnet mask of 255.255.255.0 and a default gateway of 192.168.1.1.
If you are new to networking, you will find hundreds of Internet videos showing how to set up a home network. Your immediate assignment is to research the practical applications of Ethernet networking including terms such as IP address, subnet mask, DHCP, and fixed addressing. Make sure you can use the command line ping program to verify device connectivity. Finally, be sure you can log into your router to view the DHCP Client table.

Figure 1: Image of the initial welcome screen of the Siemens LOGO! model 6ED10521CC080BA2.
How to connect the Siemens LOGO! to the network
For this demo, we assume the LOGO! PLC will be connected to a home network (192.168.1.0). This is a reasonable assumption for the student as many routers use this as the default setting.
For ease of reading, we will show a series of pictures with a short description of the associated step:
Preliminary Steps
Connect the LOGO! PLC to a network using a CAT 5 or better cable. Ensure your PC is on the same network. This would be a good time to log into your router and verify the DHCP table. Alternatively, you could ping the default gateway from the command prompt.
Initial Welcome Screen
This is the initial login screen for the LOGO! PLC.

Select Network
Use the arrow keys to select the network field.
Select IP Address
Select the IP Address field.

Observe the default IP address setting
By default, the LOGO! is configured as 192.168.0.3 with a subnet mask of 255.255.255.0.

Configure the LOGO! for your network
In this example, we set the LOGO! to operate with a fixed IP address of 192.168.1.3 and a subnet mask of 255.255.255.0. Adjust as necessary for your network.

Tech Tip: As a general rule, each industrial device should be configured with a fixed (never changing) IP address. This is especially important when many nodes are included on your network to prevent missed communication between nodes and to avoid traffic conflicts.
This can save troubleshooting heartache later down the road in those 3 AM troubleshooting sessions.
For now, we will sidestep the conversation of mixing fixed and DHCP devices on the same network.
Tech Tip: It may be beneficial to write the IP address in the control cabinet for future reference. Don’t write the address on the PLC itself, as the address may be lost when the PLC is replaced.
Connection verification
The connection may be verified using the PING command:

We can also verify using the connection tools from LOGO! Soft Comfort program. The green bar and checkmark indicate success.

Tech Tip: If PING fails, start by checking for physical cable connectivity between your PC and PLC by looking at the LEDs on the router.
Next, verify that both devices are on the same network e.g., 192.168.1.0. One excellent way to do this is to log into your router. If the PC can talk to the router, you are halfway done, as the problem is isolated to the router to PLC connection.
Parting Thoughts
Now that the LOGO! is connected to the PC, we can move on to ladder logic and function block programming.
What projects should we work on with this little LOGO! and its multicolor display?
Best wishes,
APDahlen
 Continue Exploring Industrial Control Systems
If this discussion was helpful, you may also want to explore:
 DigiKey Navigation
- Full Catalog: Industrial Control & Automation
About This Author
Aaron Dahlen, LCDR USCG (Ret.), is a Senior Applications Engineer at DigiKey in Thief River Falls. His background in electronics and industrial automation was shaped by a 27-year military career as both technician and engineer, followed by over a decade of teaching.
Dahlen holds an MSEE from Minnesota State University, Mankato. He has taught in an ABET-accredited electrical engineering program, served as coordinator of an electronic engineering technology program, and instructed military technicians in component-level repair.
Today, he has returned to his home in northern Minnesota, completing a decades-long journey that began with a search for capacitors. Read his story here.